
How we improved the menu for the summer 2019
This summer, we considered the maximum number of requests and suggestions from our users to improve the menu. The most popular were selected and implemented.
We constantly adapt the menu to solve your problems, so before writing to us about your task, read this article, most likely your problem has already been solved.
Summer wasn’t pleased with the weather, so we worked hard on a system allowing Multi-level menu as much as possible to convey to your customers information on the categories of goods of the online store on the one hand, and on the other hand, we have diversified the configuration of categories in according to content number of subcategories and released version 3.3. application Multi-level menu. The following improvements significantly increase the interest of the buyers to go to category and to make a purchase.
And so…let me introduce…
Summer Update Features.
- Goods in menu dropdown. Show products in drop-down area in categories without subcategories.
- Menu logo for desktop and mobile (2nd and 3rd template) versions
- Indentation between categories in drop down area
- Easy selection of menu design from your phone.
- Button widths for mobile version
- Column subcategories for a specific category
- Quick selection and deletion of categories working with a filter
- The preview of the custom area is always in front of the;eyes
- Increased speed and stability of the application.
- A lot of minor improvements and fixes
Below we will consider each improvement in detail.
1. Goods in menu dropdown
Goods in menu dropdown
The feature will be useful to online stores that have only top-level categories with goods. Displaying products in the drop-down area, you primarily focus on the buyer. So you can show the buyer in the drop-down area the best-selling goods or the goods that you want to sell in the first place (stale goods). In the drop-down part of the menu it is possible to show up to the first six products of the category, so be sure to set their priority in the category by placing the necessary in the first 6 places. Watch the video of how to manage settings or read the manual below.
To enable products in the drop-down menu, you need to go to settings
Multi-level menu. Menu Bar > Behavior > Category has no subcategories

Product display settings block in the absence of subcategories
And select «Show products»

Turn on and off the demonstration of items in the drop-down area
Click save button.
2. Logo in menu for desktop and mobile (2-nd and 3-rd template) versions
![]()
Setting to enable logo display in menu
Conducting studies of user behavior in the online store, we found that 92% of 100% of the users we surveyed expect to see the company logo in the menu or above the menu, so that when you click it, go to the main page of the site. And if the logo is missing, then they habitual pattern of behavior is torn and they’re uncomfortable and annoyed by interacting with such an online store, after experiencing negative emotions, users usually close the site with incomprehensible navigation for them and do not return to it. So we added a logo in Multi-level menu with a link to the main page of the store, so that your customers feel the comfort and joy of using navigation in the store, purchases of goods and returned for repeat purchases recommending your online store to your friends. Watch video of how to manage settings or read the manual below.
When you turn on the logo in the menu, it is pumped from the start page of the store. The logo can be uploaded or changed by going to the start site settings.
Site Editor > Title and cover > Logo > Upload logo
In the settings, select «Where to show logo» – better to indicate «do not show logo».
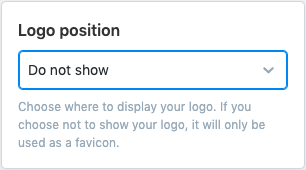
Logo display settings block in the start site
To enable products in the drop-down menu, you need to go to settings Multi-level menu
Menu Bar > Bar > Show logo

Logo display settings block in the start site
Choose logo option display:
- No (default), do not show logo in menu
- Desktop – logo is visible in the menu of the desktop version of the site
- Mobile –the logo is visible in the menu on the mobile version of the site
- Yes – the logo is visible in the menu on the computer and mobile version of the site
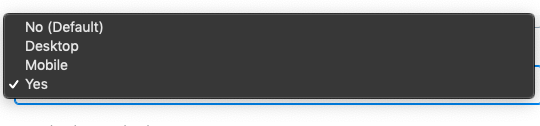
Select logo display in the menu
For color change logo background you need to go to settings.
Menu Bar > Bar > Logo background color.
And set the desired background color.
![]()
Logo background color setting
After the changes, click on the save button.
3.Ability to adjust indentation between categories f dropdown area

Indent between categories
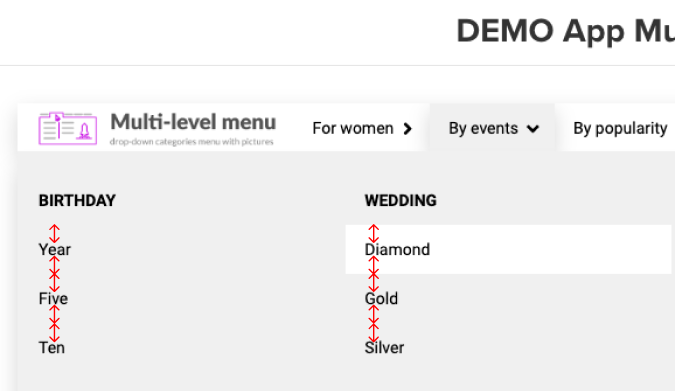
Indent between categories in column view
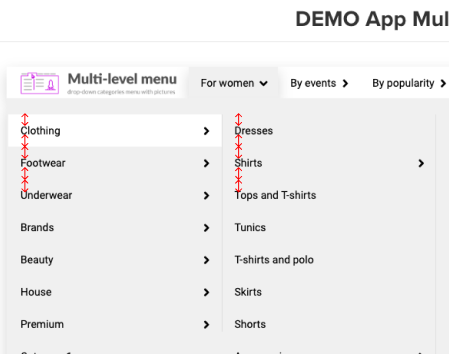
Indent between categories as standard
To simplify the reading and understanding of categories in the drop-down area, indent the categories. It all depends on the length of the category name. In long lines, it is better to do more distance than in short lines, so we added the ability to adjust the distance between category lines. Watch video settings or read description below.
To adjust the indentation you need to go
Menu dropdown > Items > Item padding

Indentation Block settings
This 12px – is the indentation above and below, and 15px – is the indent on the right and left.
4. Easy menu design choices from phone.
We noticed that more and more owners of online stores go to the admin panel from the phone to change the theme in their menu, so we simplified the choice of themes from the mobile phone by making icons in two columns. Watch video of how to manage settings.
Selecting a menu template from your phone
5 Button width for mobile version

Buttons in the menu on the mobile version
Watch video of how to manage settings or read description below.
To adjust the width of the buttons in the mobile version multi-level menu, you need to go to settings
Menu Bar > Scroll > Button width (Mobile)
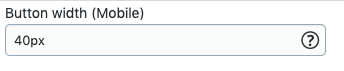
Button width settings block for mobile version Multi-level menu.
Adjust width и press button “save”
6. Subcategories in columns for a specific category.
Setting up a separate category as columns
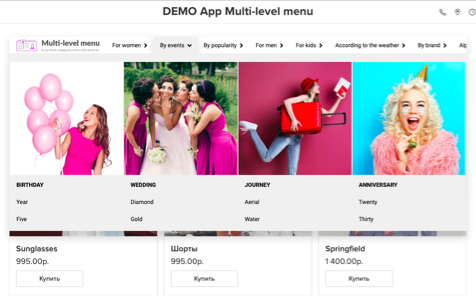
Categories in 4 columns with pictures
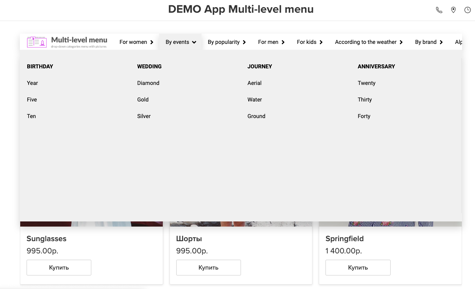
Categories in 4 columns without pictures
Watch video of how to manage settings or read description below.
To configure the demonstration of second level categories in the 4th column, you need to go to settings Multi-level Menu and enter settings.
Menu dropdown > Layout > Columns level
turn on “One by one (default)”
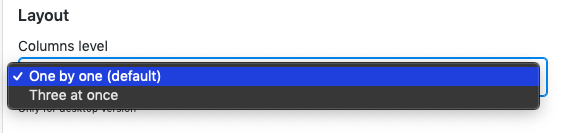
Column or default display block
Product categories can be placed in columns from 2 to 6, to configure this parameter, you need to go to the setting
Menu dropdown > Layout > Columns number
choose the number of columns
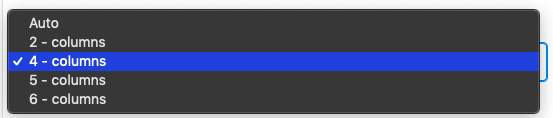
Setting the number of columns to display categories
Also,you can customize the display of categories using pictures, for this you need to go to the settings below.
Menu dropdown > Layout > Category image

Disable pictures in categories list
And enable the display of pictures.

Enable the display of pictures in categories list
If you want to display categories without pictures, then leave this option off. Press button “save”. After that, scroll to the settings “Menu items filter”
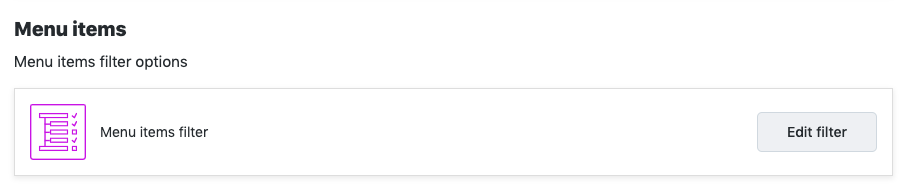
Filter Setting Area
Enter the settings, open the categories, find the desired category and click on the icon
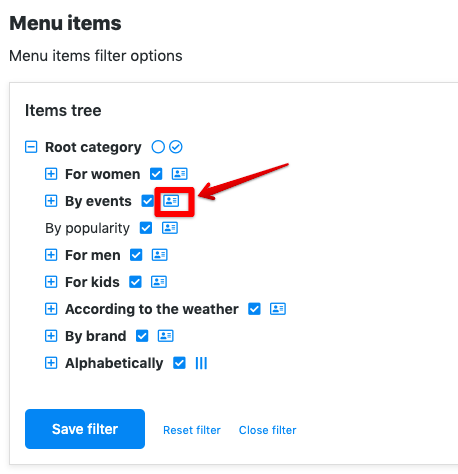
Default category setting
After clicking, the icon will change to an icon with columns
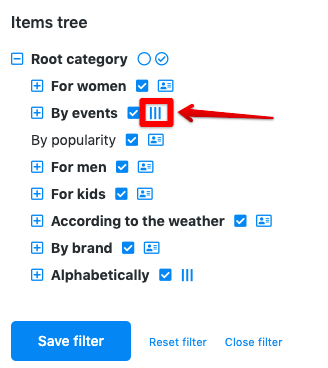
Settings show category in columns
This means that the categories will be displayed in columns,click on the save button, go to the main page, check the result.
For greater clarity, the picture below compares the result of this setting.
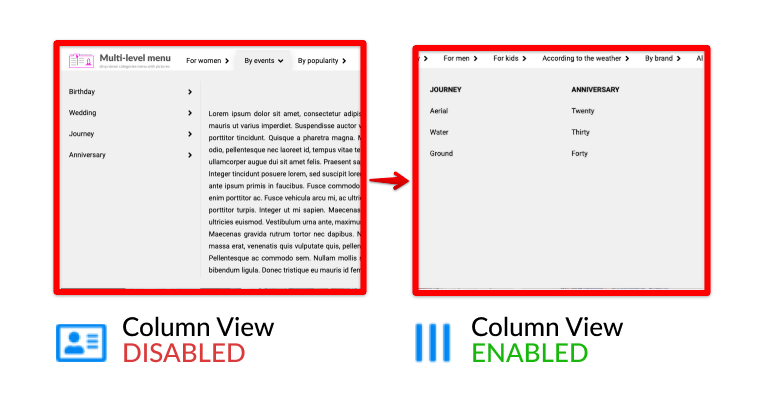
Comparison of the settings of two options for displaying categories.
7.Quick pick and disable categories working with filter
To simplify the work with the filter, we added the ability to select or deselect the list of subcategories with one click. Watch video of how to manage settings or read description below.
Quick pick and disable categories working with filter
8. Preview custom area is always «in front of your eyes»
We care about your convenience in interacting with settings Multi-level menu,and try to make the settings which allow you to customize the menu for your store as fine as possible. To solve this problem, a fairly large number of options appeared in the menu, to configure them you need to scroll through the page.Many of you faced the situation -, in order to check if the setting worked out,it was necessary to return to the beginning of the settings area – this is inconvenient,therefore, we made sure that the preview area and the save button were always in front of your eyes, which greatly simplifies the menu setup procedure.
Preview custom area is always «in front of your eyes»
We do our best to make our menu convenient and useful for both store owners and their customers, so if you read this article and did not see a solution to your problem, write to us in support with your proposal, and we will certainly consider it.
Widget multi-level can work on any platform for creating sites and online stores, so the installation and configuration of the application is the same, but there are differences, for example Wix, so install the widget on your web site correctly: using marketplace Ecwid to work on all platforms and CMS or find individual approach for Wix.